Your Bigblue dive light will last for many years if you follow a few simple steps. You’ve spent hard-earned dollars on expensive scuba-diving gear and you should expect it to last! There are three main areas to look out for when maintaining your waterproof LED light: O-rings, batteries and chargers, and light housing.
Maintenance Before Your Dive
How to Maintain O-Rings
All Bigblue Lights are double O-ring protected and come with both O-rings already installed on the light. We also send an extra set in each new light package when it comes time for a replacement. Here’s how to maintain O-rings:
- Open the dive light and remove the O-rings.
- Don’t use tools—use your fingers to avoid tearing the O-ring.
- Check the lubricant. You should be able to feel the lubricant and you will notice a shine on the O-rings if they are properly moistened.
- Inspect all O-rings for damage—look for cracks and tears.
- If you see any cracks at all, it’s time to replace!
Do not use your dive light without two properly fitted and lubricated O-rings. This can result in flooding and a complete failure of your light. Clean and lubricate O-rings with the silicon grease that is provided in your new light packaging. This will keep them soft and flexible which is very important to their ability to seal your light from water intrusion.
How to Maintenance Batteries and Chargers
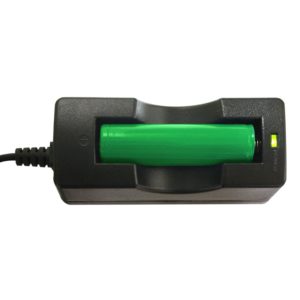
All batteries are NOT created equal! Bigblue batteries are specifically designed for Bigblue lights with built-in protection circuits for the safest and most efficient operation. Aftermarket batteries can be a different voltage or slightly smaller causing flickering and/or other malfunctions. The battery is the lifeline of your dive light. If it is damaged, the wrong size or wattage, this could cause a multitude of issues. Here’s how to maintenance batteries and chargers:
- Inspect the battery casing and look for any tears or cracks.
- Install a charged battery and check the lights operation above water.
- The charger light should turn green when fully charged.
- Make sure the lighted battery indicator is working and the light is cycling through all the proper functions.
- See the manual for operating instructions.
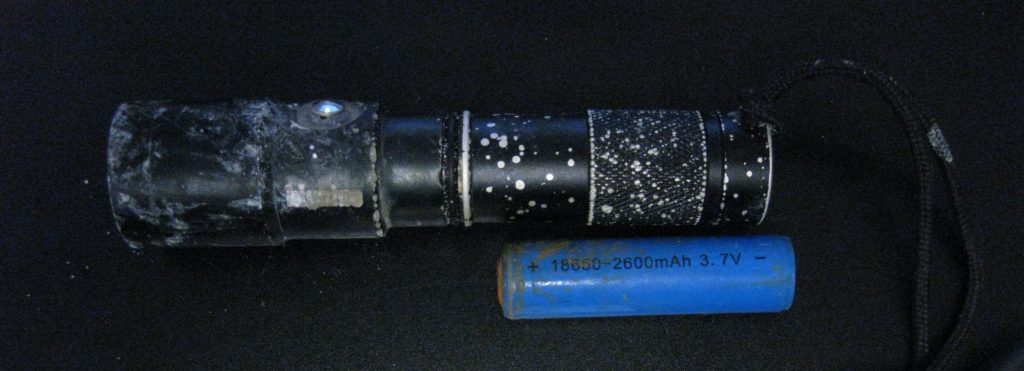
Good Battery vs. Corrosion
Good Battery: Check the contacts on both ends for rust or other contaminants and make sure the battery casing (green) is free of deep scratched or tears.
Galvanic Corrosion: This Bigblue dive light was spotted in about 60 feet of water. The lucky diver who retrieved it replaced the battery and O-rings and got themselves a free dive light!
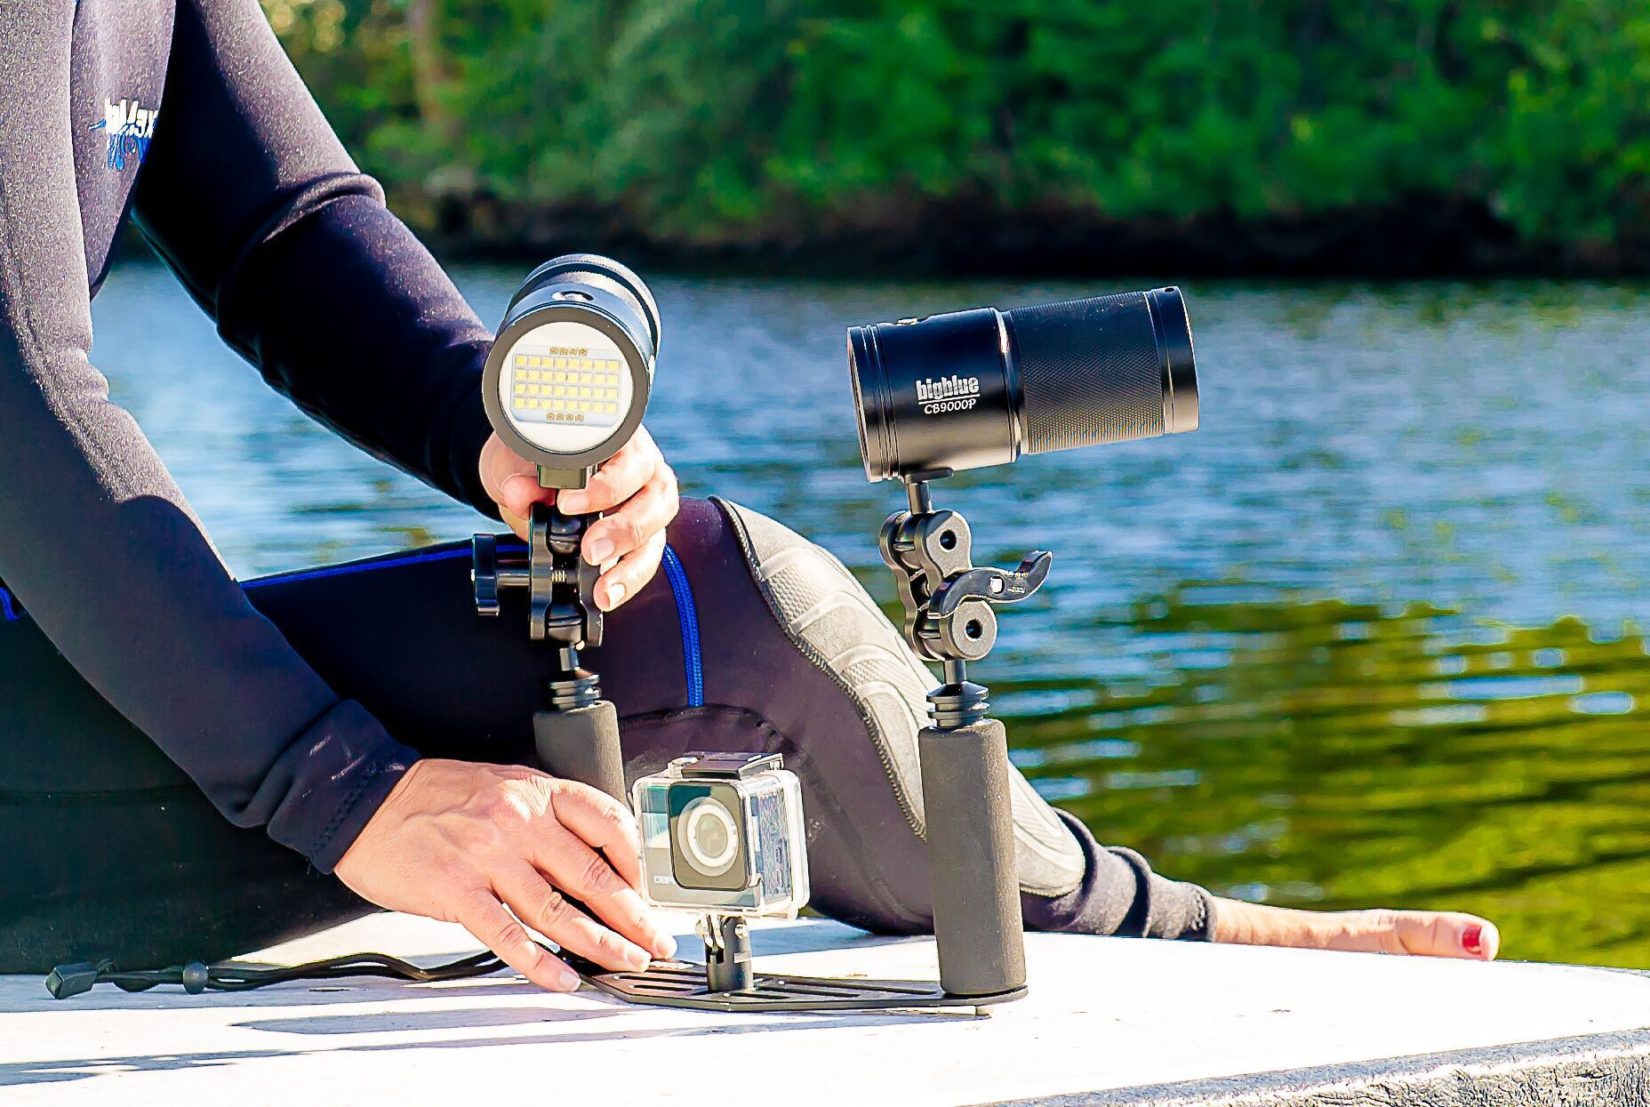
How to Perform Maintenance on Light Housing
Light housing preventative maintenance is pretty simpl—just inspect for damage or corrosion on the light, switch and body. It’s also important to check the lanyard or mount. A brittle lanyard could ruin a good dive! If you are using a Goodman Handle, check all screws and locking mechanisms for a tight fit. If you are using a soft neoprene-style glove, check all stitching and adhesive material to make sure there is nothing about to unravel. If you are using a camera tray, check all clips, arms and other attachments to ensure a tight fit. Always use a lanyard for an extra safety measure.
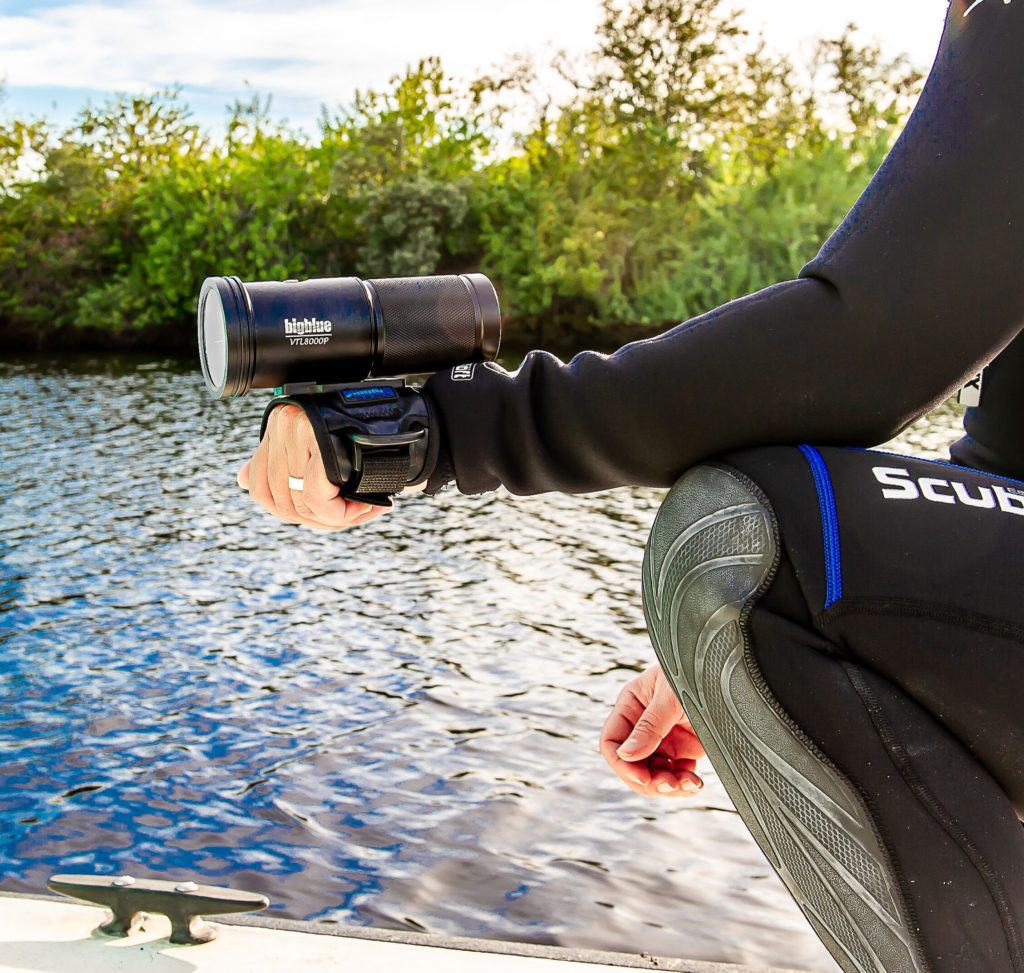
Photo Credit: Lisa Sampietro @DorkyDaisyPhotography
Maintenance After Your Dive
Maintenance after your dive is just as important as beforehand. By performing these tasks immediately after your dive, you can ensure that your gear is ready and working for your next dive. Here are some tips:
- Rinse dive light thoroughly to remove all salt or debris.
- Operate the light switch while fully submerged.
- Dry the dive light thoroughly before opening.
- Inspect both O-rings for dirt or damage.
- Remove the batteries before storing.
- Plan your next dive!